TABERNACLE MODEL
(Instructions Part 3)
Quick Links to other Instructions:
Part 1
Part 2
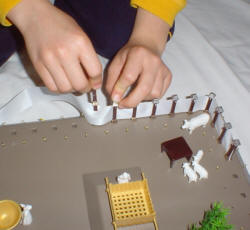
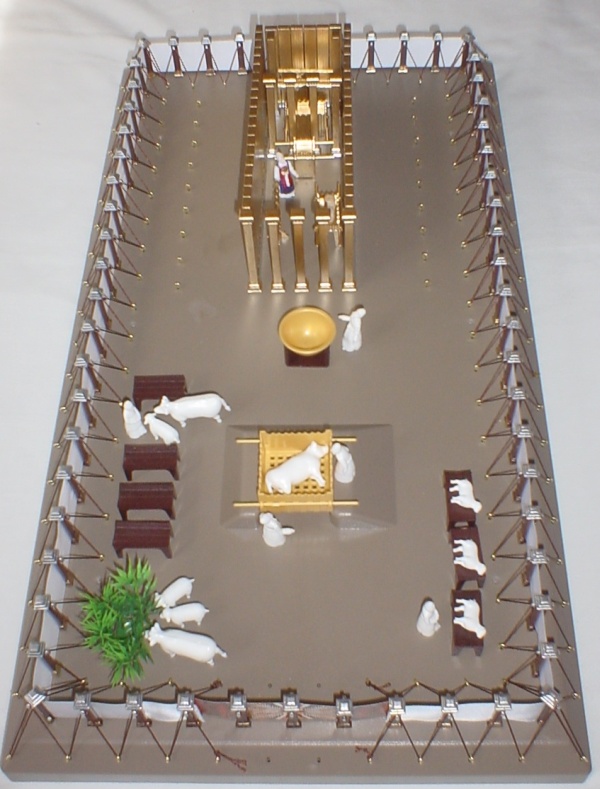
Below is the Tabernacle model with all the posts hammered into the base slots but before the curtains and tent coverings were added. In our model we painted the walls of the main Tabernacle structure gold and left the Bronze Altar and the Laver the original color to simulate brass. You can see the big difference that painting makes. It would look nicer to paint the Laver and the Bronze Altar with a bronze color also. We went back to the store and bought some metallic paint for the Laver and Altar and you can see the big difference it made in the final photo.
These photos show the base in the original model color. We went back later and painted the base with a sand color and then actually sprinkled about a tablespoon of fine clean craft sand into the wet paint for a desert effect. We suggest that you DON'T sprinkle the sand evenly, sprinkle it in waves as a kind of "dune" effect. We had done this on our wooden model and it worked out well. The only problem is that this kit has "brass" rings already set in the base making it hard to paint the base. I suggest that you consider gently pulling out the rings and painting the base and then gluing the rings back in the ring holes in the base. If you do this, make sure that you arrange the opening hole side of the rings as shown in the included instructions. See the photo on the last page to see what the base looks like painted.
click to enlarge
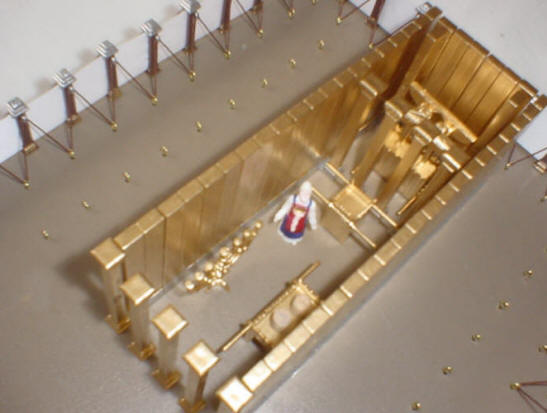
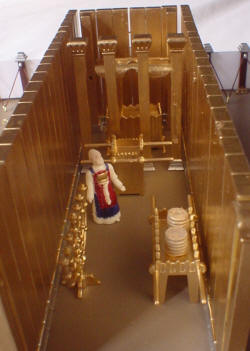
Here is the interior of the main Tabernacle structure with the nice gold paint but before the curtains are added. When painting the walls of the main structure, remember that the bases of the main walls were silver so paint the bottom tips of the side and back walls with silver paint. Although the 5 posts at the entrance had brass bases, if you look closely, the middle row of gold posts between the Holy Place and the Most Holy Place (Holy of Holies) had silver bases like the outer walls.
click to enlarge
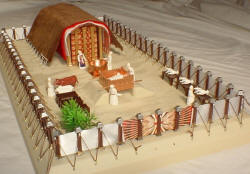
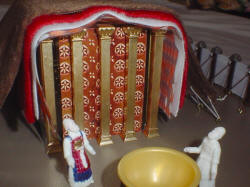
Below is the front of the main Tabernacle structure after the curtains and veils are added. The tent coverings are all cloth but the veils are printed paper. You can see the partially painted Chief Priest. The other priests had white linen clothes but the chief priest had a blue cover over his white linen clothes then over that a scarlet, blue and purple vest type garment and finally a gold chest plate that was inlaid with 12 precious stones. We found that although regular model paint adhered well to the other plastic parts didn't adhere well to the soft rubber white priests and animals.
The 4 tent coverings are fastened to the brass rings with elastic string "rope" that is included in the kit. This keeps the tent coverings tight but stretches to allow you to remove them to show the interior of the main Tabernacle.
click to enlarge
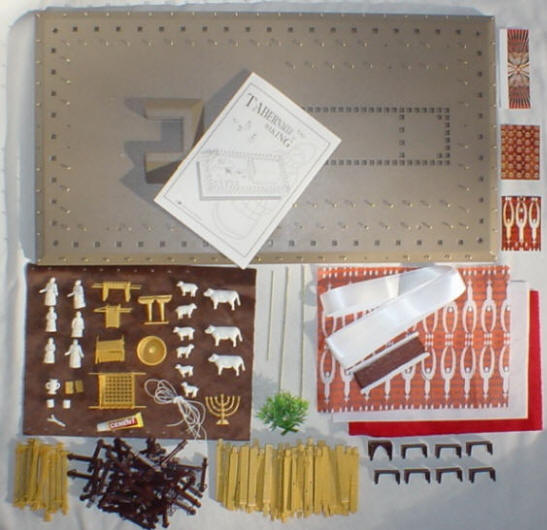
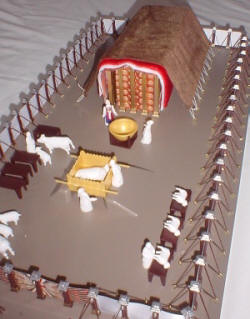
Finally, below is what the Tabernacle model looked like before painting the base, the laver and the Altar. Not nearly as big as the wooden model we made but it had a lot of details in it. One advantage of the wooden model is that you had a lot more choice in what the final model looked like but we found this plastic model to be close to our interpretation of the Biblical model. The plastic model even includes bread for the Shewbread table and Ten Commandment tablets as well as Aaron's rod that budded and the golden jar of manna which can be placed in the Ark of the Covenant. The cover of the Ark can be removed to show the class these items.
click to enlarge
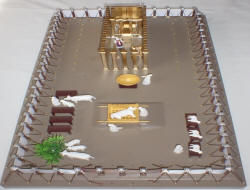
Compare the photo above with the photo below to see the difference painting the base with sprinkled sand and also painting the Laver and altar with
metallic paint. We thought it made a big difference. You don't HAVE to paint the model to use it as a teaching tool but we think it sure makes it look nicer.

click to enlarge
Even so, the model is fairly small (21 inches by 12 inches). We made our wooden model courtyard 5 feet long. It was large enough that it took two people to carry it and was hard to store. The smaller plastic model is easier to carry and store but is too small to use with a big crowd of people. You can buy a clear plastic case to store the smaller model in. There is also a big difference in the amount of time it takes to make each model. You will have to determine for yourself what is best for your church.
Don't forget to visit our other Tabernacle sections of this website to learn
about the Tabernacle. This will give you lots of background information for your
class. We are interested to see how your model turned out. If you make a
Tabernacle model then how about taking a picture of it for us to put in our
gallery. Maybe it will give others some ideas!
Contact me.
Quick Links to other Instructions:
Part 1
Part 2
Quick Links to other detailed plastic model kit Instructions:
Part 1
Part 2
Part 3
|